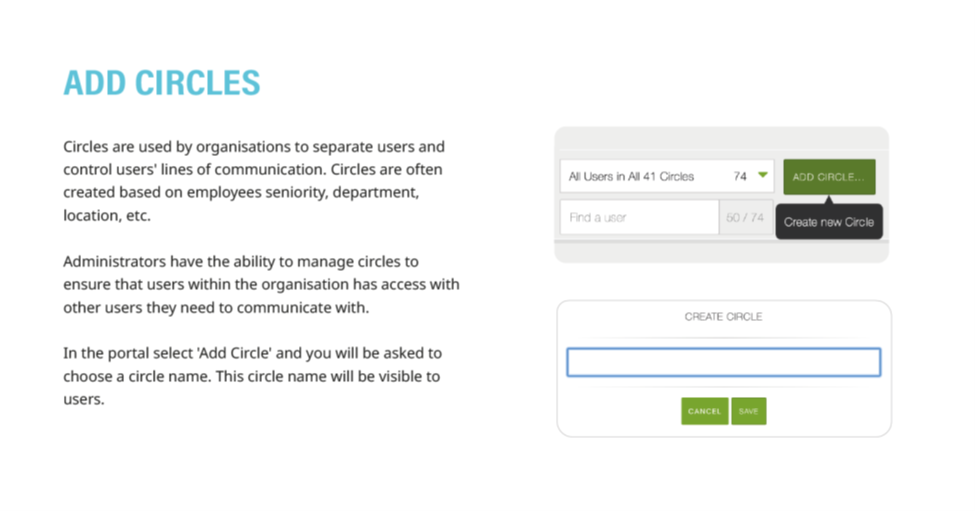
1. Create Circles to control lines of communication among system users. These Circles can be based on seniority, department, location, etc.
2. Once created, Circles can be managed to ensure needed communication ability across your entire organization. To create a Circle, click the green 'ADD CIRCLE' button and choose a name for your Circle. This name will be visible to all users inside the Circle.
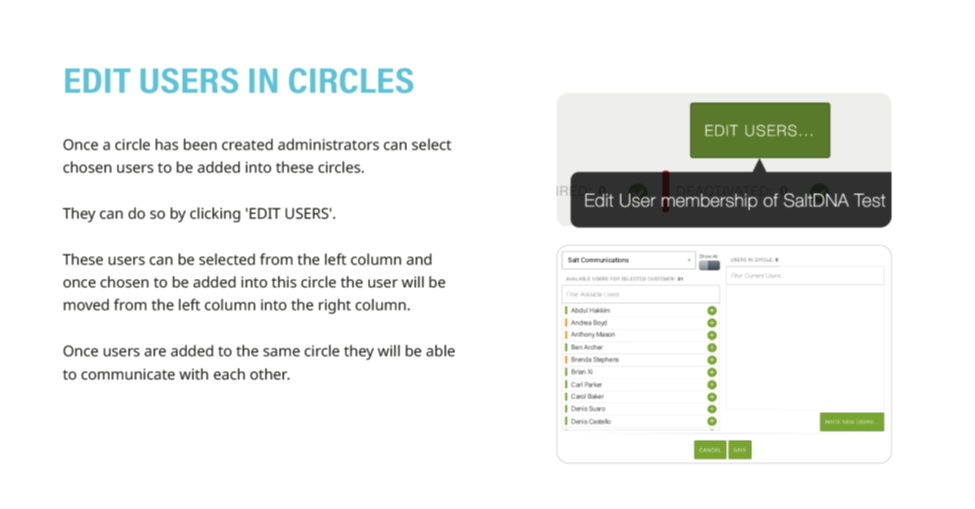
3. Once a Circle has been selected from the drop down in the "Users" menu, members of that circle can be added or removed by clicking the green 'EDIT USERS' button to the right of the screen
4. Potential new users are selected from the left column. Once added to the Circle they will appear in the right column.
5. Detailed instructions as a downloadable PDF are available for your personal library at the bottom of this page
Was this article helpful?
That’s Great!
Thank you for your feedback
Sorry! We couldn't be helpful
Thank you for your feedback
Feedback sent
We appreciate your effort and will try to fix the article